is there a calendar template in google docs plantillas. página 2 | plantillas, contratos y formularios.
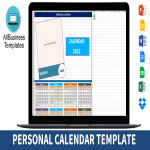
How to create a calendar in Google Docs? Effortless Calendar Creation in Google Docs: Tips and Templates
Designing a well-organized calendar becomes a breeze with the user-friendly features of Google Docs. Follow these steps to create a calendar that suits your needs:
1. Document Setup:
- Access Google Docs and log in to your Google account if not already logged in.
- Initiate a new document by clicking on "+ Blank."
- Navigate to "File" in the top left corner and select "Page setup."
- Adjust page orientation, size, and margins according to your preferred calendar layout.
2. Calendar Structure:
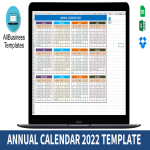
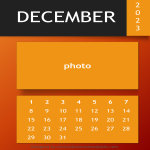
- Decide on the structure of your calendar (monthly, weekly, or yearly).
- Create a table or use the "Table" option under the "Insert" menu to organize days and weeks effectively.
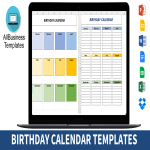
3. Highlight Important Dates:
- Utilize different font colors or highlight options to emphasize important dates or events.
- Consider using bold or italicized text for added visibility.
4. Inclusion of Events:
- Add events or appointments by inserting text boxes or using the "Text" option.
- Ensure clarity in conveying event details, such as time, location, and any relevant notes.
5. Customize Design Elements:
- Experiment with font styles, sizes, and colors to enhance the overall aesthetic appeal.
- Insert images or graphics if desired to personalize your calendar.
6. Proofread and Edit:
- Thoroughly review the calendar for any errors or inconsistencies.
- Ensure the details are accurate and reflect your scheduling needs.
7. Save and Share:
- Save the document on Google Docs for easy access and future edits.
- Share the calendar with collaborators or team members by entering their email addresses for collaborative planning.
Effortlessly manage your schedule with a well-crafted calendar in Google Docs. Download, customize, and stay organized with ease!